DASHBOARD #

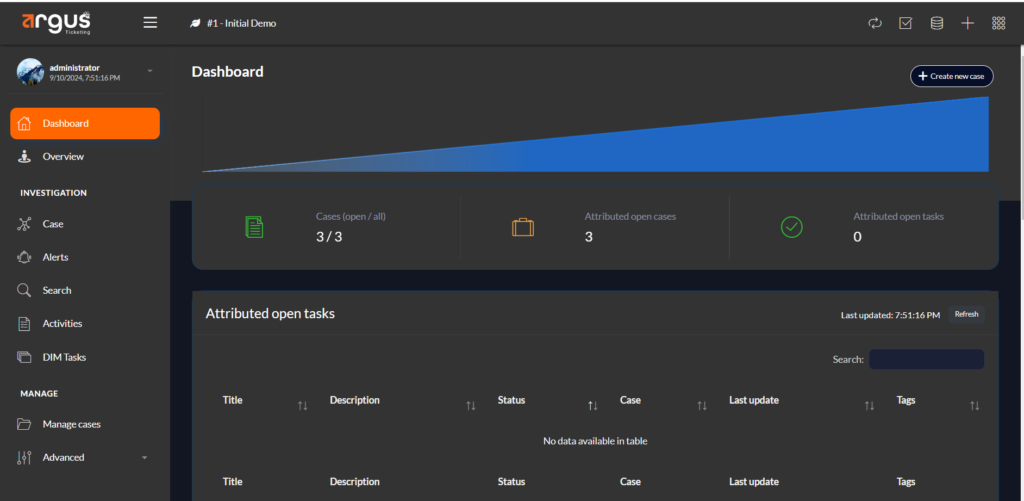
- Header and Navigation: The top header includes options like refreshing the dashboard, accessing messages, adding new cases or tasks, and switching views.
- The title in the top left corner indicates that this view is part of an “Initial Demo” session.
Key Matrics and Case Summary:
- Cases (open/all): Shows the total number of cases, with the current status being 1 open case out of 1 total.
- Attributed Open Cases: Indicates that there is 1 attributed open case.
- Attributed Open Tasks: Displays 0 open tasks, indicating no active tasks assigned.

Task Table:
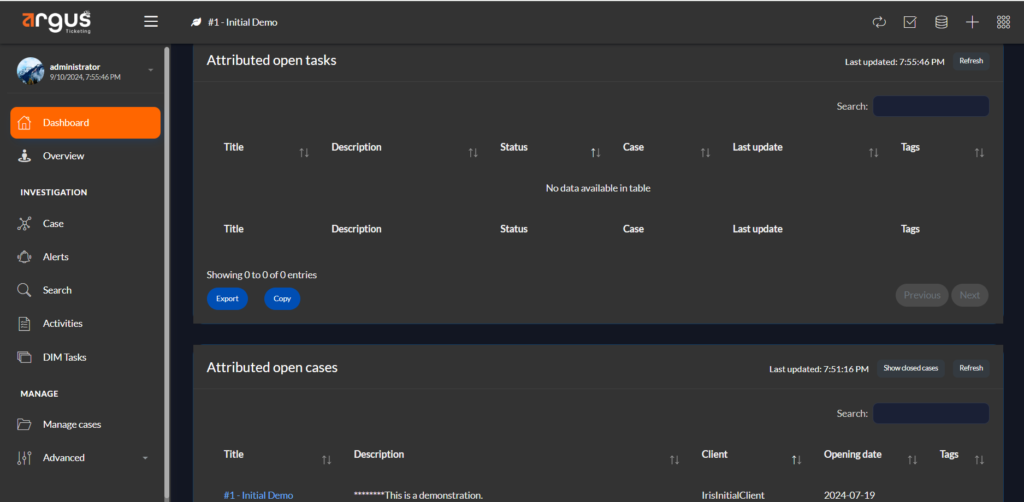
- The Attributed Open Tasks section lists tasks related to ongoing cases.
- The table is designed to display columns such as “Title,” “Description,” “Status,” “Case,” “Last update,” and “Tags.”
- Sorting arrows next to column headers suggest that this table supports sorting.

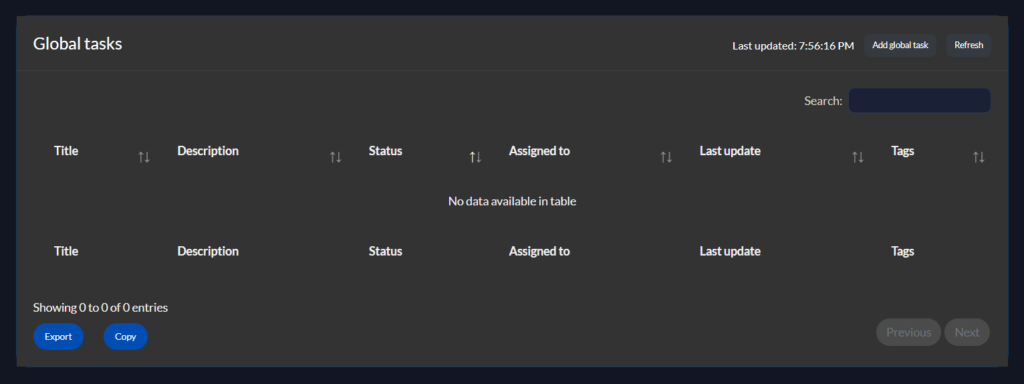
Global Tasks : It covers tasks that span across the entire organization.
The columns in the table include “Title,” “Description,” “Status,” “Assigned to,” “Last update,” and “Tags,” indicating that each task can be categorized and filtered by these attributes.
Actions and Controls:
Add Global Task: A button “Add global task” is available for creating a new task that will be listed in the global tasks table.
OVERVIEW #

Fields in Overview:
Title: A brief description or label for the case.
Customer: The customer or client associated with the case.
Classification: A category or type that the case falls under.
State: The current status of the case (e.g., Open, Closed, In Progress).
Tags: Keywords or labels used to categorize or filter cases.
Open since: The date when the case was first opened or created.
Open date: The date when the case was last updated or reopened.
Tasks: A list of associated tasks or activities related to the case.
Owner: The individual responsible for managing or overseeing the case.
API KEYS #
User name Settings
Argus ticketing tool is meant to be plug-able and be integrated with the existing environments. Through the REST API, one can do almost as much as it is possible to do through the web interface. Under the hood, the web interface is actually talking to the API.
The first step is to obtain an API key. Each user is automatically attributed one when it is created.
It can be found on the left panel, under username and My Settings.


